Using Peardeck can transform your classroom presentations. It makes learning interactive and fun.
Peardeck is an educational tool that helps teachers engage students through interactive presentations. By integrating with tools like Google Slides, it allows teachers to add questions and activities that students can respond to in real time. This makes lessons more dynamic and helps keep students focused.
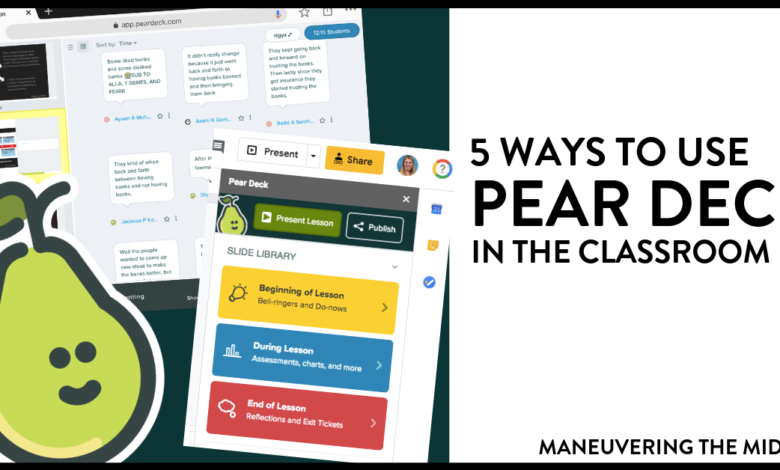
In this blog post, we’ll explore how to use Peardeck effectively. You’ll learn how to set it up and create engaging presentations. Whether you’re new to Peardeck or looking to improve your skills, this guide will provide you with the knowledge needed. Get ready to make your teaching more interactive and enjoyable with Peardeck!
Introduction To Peardeck
Peardeck is a powerful tool for engaging students in the classroom. It helps teachers create interactive presentations. These presentations can include quizzes, polls, and other activities. This makes lessons more dynamic and interesting.
What Is Peardeck?
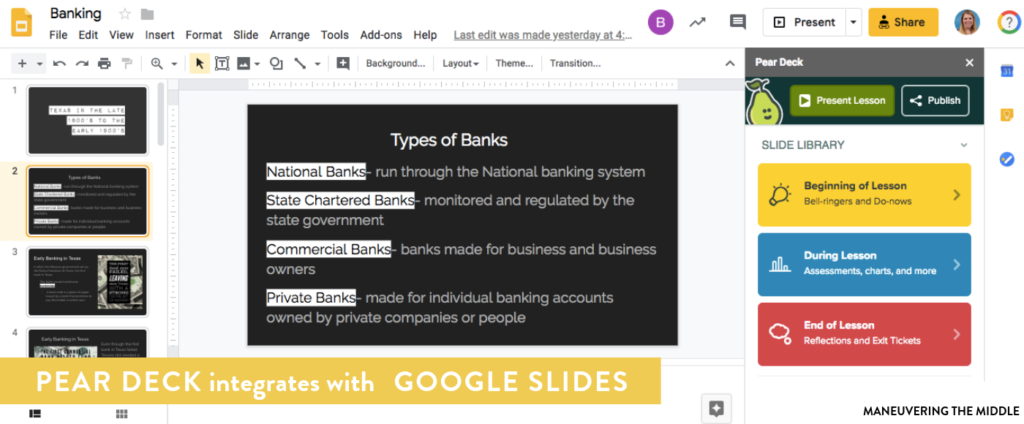
Peardeck is an educational platform. It allows teachers to create interactive lessons. These lessons can be used in real-time or assigned as homework. Peardeck integrates with Google Slides and Microsoft PowerPoint. This makes it easy to use for teachers.
Benefits For Educators
Peardeck offers many benefits for educators. Here are a few:
- Engagement: Students stay engaged with interactive activities.
- Assessment: Teachers can assess student understanding in real-time.
- Flexibility: Lessons can be used in-class or remotely.
- Integration: Works seamlessly with Google Slides and PowerPoint.
Teachers can also track student progress. This helps in identifying areas where students need help. Using Peardeck, teachers can make learning more interactive and fun.
| Feature | Benefit |
|---|---|
| Interactive Slides | Engages students with questions and polls |
| Real-Time Feedback | Allows for immediate assessment |
| Customizable Content | Supports diverse teaching styles |
| Integration with Tools | Works with Google Slides and PowerPoint |
Overall, Peardeck helps create a more dynamic classroom environment. It is an essential tool for modern educators.
Getting Started
Peardeck is a great tool for interactive lessons. It helps teachers engage their students. To start using Peardeck, follow these steps. We’ll guide you through the basics.
Creating An Account
First, visit the Peardeck website. Click on the “Sign Up” button. Choose to sign up with Google or Microsoft. Follow the prompts to create your account. You will need an email address and a password. After signing up, you can log in anytime.
Navigating The Dashboard
Once logged in, you’ll see the dashboard. The dashboard is your main control center. Here, you can create new presentations. You can also access previous ones. On the left, there are several options. You can start a new lesson or import slides.
There is a library of ready-made templates. These templates are very helpful. You can use them to save time. Explore the dashboard to find all features. It is user-friendly and intuitive.
Setting Up A Lesson
Setting up a lesson in Peardeck can seem like a big task, but it’s simple. With a few steps, you can create an engaging and interactive presentation for your students. This guide will help you through the process.
Choosing A Template
Peardeck offers many templates to get you started. These templates cover different subjects and grade levels. You can find templates for math, science, language arts, and more. Pick one that best fits your lesson plan.
Using a template saves time. It provides a structure you can build on. Once you choose a template, you can start customizing it to match your lesson’s needs.
Customizing Slides
After selecting a template, customize the slides to fit your lesson. You can add text, images, and interactive elements. This makes the lesson more engaging for your students. Use simple language and clear instructions.
Make sure to keep slides visually appealing. Use colors and fonts that are easy to read. Avoid cluttering the slides with too much information. Focus on one idea per slide to keep your students engaged.
Use Peardeck’s interactive features. Add questions, polls, and drawing activities. This helps keep students involved and makes learning fun.
Save your work often to avoid losing any changes. Once you’re done, review the slides to ensure everything is in place.
Credit: www.maneuveringthemiddle.com
Engaging Students
Engaging students in the classroom can be challenging. Peardeck offers a range of tools that help teachers capture students’ attention. These tools make learning interactive and fun. Let’s explore how Peardeck engages students using its features.
Interactive Features
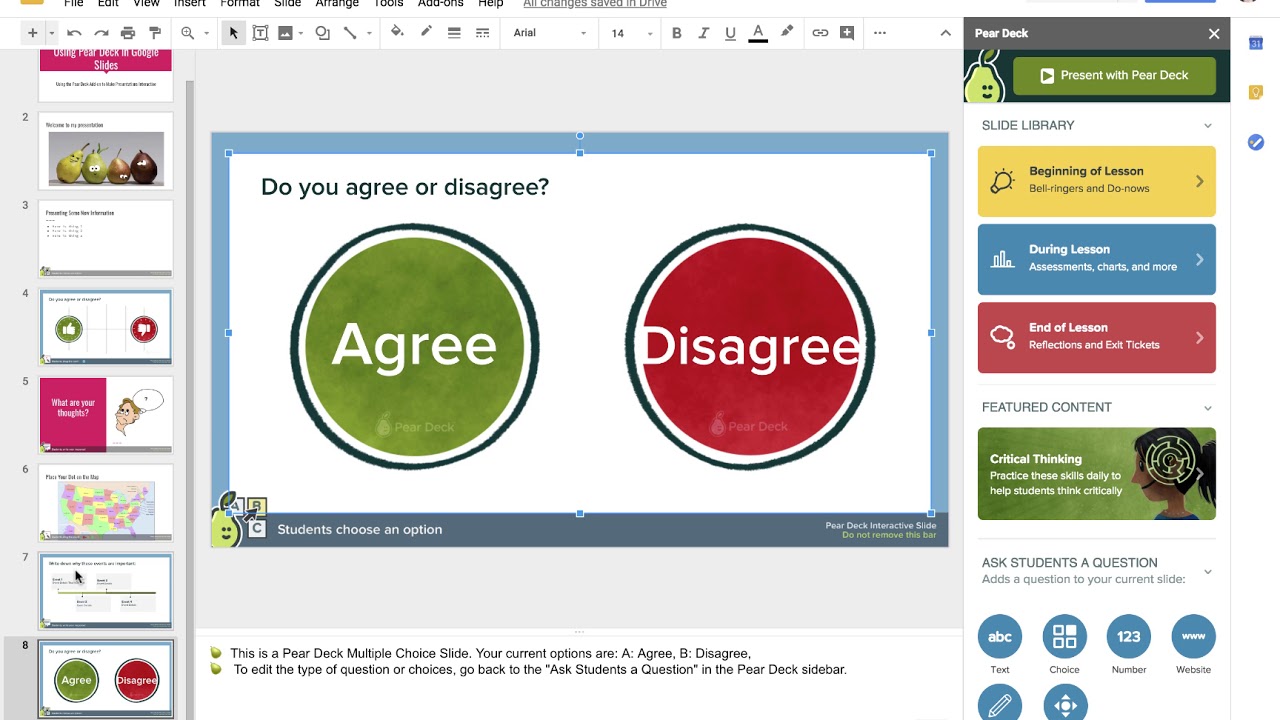
Peardeck provides many interactive features. Teachers can add questions to their slides. These questions can be multiple-choice or open-ended. Students respond using their devices. This keeps everyone involved in the lesson. The interactive slides make lessons more dynamic.
Teachers can also use draggable and drawing features. These allow students to interact with the content directly. They can drag icons or draw on the slides. This makes learning more hands-on.
Real-time Feedback
Peardeck offers real-time feedback. Teachers see students’ responses instantly. This helps them understand who needs help. Teachers can address issues immediately. It ensures that no student is left behind.
Students also benefit from real-time feedback. They know how they are doing right away. This keeps them motivated and engaged. They feel more connected to the lesson.
Presenting Your Lesson
Using Pear Deck to present your lesson can engage students in interactive and meaningful ways. This section will guide you through the process of presenting your lesson effectively.
Launching A Session
To start your lesson with Pear Deck, follow these steps:
- Open your Pear Deck account and create a new presentation or open an existing one.
- Click on the “Start Lesson” button. You have the option to select either Instructor-Paced or Student-Paced mode.
- Once you select the mode, a unique code will be generated. Share this code with your students.
Students can join the session by entering the code on joinpd.com. Once all students have joined, you can begin your presentation.
Managing Student Participation
Engage students by using Pear Deck’s interactive features. Here are some tips:
- Embed Questions: Use multiple-choice, text, or drawing questions to make lessons interactive.
- Monitor Responses: You can see real-time responses from students. This helps in assessing understanding.
- Encourage Discussion: Use student responses to spark class discussions. Highlight interesting or insightful answers.
Control the flow of the lesson from your teacher dashboard. This ensures smooth transitions and keeps students focused.
By following these steps, you can effectively present your lesson using Pear Deck. This will help create an engaging and interactive learning environment.
Credit: www.youtube.com
Assessing Student Progress
Assessing student progress is crucial for any teacher. Using Peardeck, teachers can track how well students understand the material. This tool makes it easy to collect and analyze student responses. Let’s explore how you can use Peardeck to assess student progress effectively.
Collecting Responses
Peardeck allows teachers to ask questions during lessons. Students can respond in real-time. This interaction keeps students engaged. It also helps teachers see who needs more help. You can ask multiple-choice questions, short answer questions, or even draw responses.
To collect responses, start a Peardeck session. Share the join code with your students. As students answer, their responses will appear on your dashboard. You can choose to show these responses to the class or keep them private.
Analyzing Data
After collecting responses, the next step is analyzing the data. Peardeck provides various tools to help with this. You can view individual student responses or look at the overall class performance. This helps identify trends and areas where students struggle.
Use the Peardeck dashboard to review answers. You can filter the data by question type or student. This makes it easier to pinpoint specific issues. Analyzing the data helps you adjust your lessons to better meet student needs.
By using Peardeck, you can quickly assess student progress. This helps ensure that all students are on track and receiving the support they need.
Advanced Features
Peardeck offers many advanced features that make your presentations engaging and interactive. These features include the ability to add multimedia, integrate with other tools, and more. Let’s dive into some of these advanced features and see how they can enhance your teaching experience.
Adding Multimedia
Adding multimedia to your Peardeck presentation can make it more engaging. You can insert images, videos, and audio clips to support your content. Here’s how:
- Images: Click on the image icon and upload from your computer.
- Videos: Use the video icon to embed YouTube links directly into your slides.
- Audio Clips: Record or upload audio to add narration or sound effects.
Multimedia elements can help to break up text-heavy slides. They also cater to different learning styles, making the content more accessible.
Integrating With Other Tools
Peardeck integrates seamlessly with many other educational tools. These integrations can enhance your presentations and streamline your workflow. Some popular integrations include:
| Tool | Benefits |
|---|---|
| Google Classroom | Assign and collect Peardeck activities directly through Google Classroom. |
| Microsoft Teams | Share Peardeck presentations and collaborate within Teams. |
| Google Slides | Create and present interactive slides with Peardeck add-on in Google Slides. |
Integrating Peardeck with these tools can save time and enhance the learning experience. It allows for smoother transitions between different platforms, making it easier for students and teachers.
Tips And Best Practices
Using Peardeck effectively can transform your classroom experience. It boosts student engagement, enhances interactivity, and provides real-time feedback. To get the most out of Peardeck, follow these tips and best practices.
Maximizing Engagement
Engage students with interactive slides. Use various question types like multiple-choice, drawing, and text responses. Mix things up to keep them interested. Include short activities to break up the lesson. This keeps attention high.
Encourage participation by setting clear expectations. Let students know their input is valuable. Use Peardeck’s anonymous response feature. This helps shy students feel comfortable sharing their thoughts.
Common Pitfalls To Avoid
Avoid overloading slides with too much information. Keep content simple and clear. Too much text can overwhelm students. Use visuals to support your points. This makes the lesson more engaging.
Don’t rush through the slides. Give students enough time to respond. Rushing can cause confusion. Monitor student responses and adjust your pace as needed. This ensures everyone stays on track.
Ensure your technology is working properly before the lesson. Technical issues can disrupt the flow. Test your internet connection and Peardeck setup. This avoids unnecessary interruptions.
Conclusion And Next Steps
Wrapping up your journey with Peardeck, it’s important to reflect on your progress. You’ve learned valuable skills to enhance your presentations and engage students effectively. Let’s recap the key points and explore additional resources to continue your learning.
Recap Of Key Points
You now know how to create interactive slides using Peardeck. You understand the importance of engaging students with questions and polls. You learned to monitor student responses in real-time. You saw how Peardeck integrates seamlessly with Google Slides. These key points will help you create more engaging and effective lessons.
Additional Resources
To further enhance your Peardeck skills, explore the Peardeck Help Center. It offers articles, tutorials, and FAQs to guide you. You can also join the Peardeck community forum. Here, teachers share tips and best practices. Watching tutorial videos on YouTube is another great way to learn. Finally, consider attending Peardeck webinars for live demonstrations and Q&A sessions.

Credit: www.peardeck.com
Frequently Asked Questions
What Is Peardeck?
Peardeck is an educational tool used to create interactive presentations. It helps teachers engage students in learning.
How Do I Start Using Peardeck?
To start using Peardeck, sign up on their website. Then, integrate it with Google Slides or PowerPoint.
Can Peardeck Be Used For Remote Learning?
Yes, Peardeck is great for remote learning. It allows real-time student interaction and feedback.
Is Peardeck Free To Use?
Peardeck offers both free and paid plans. The free plan includes basic features for interactive lessons.
Conclusion
Using Peardeck can transform your classroom experience. It makes lessons interactive and fun. Students stay engaged. Teachers get real-time feedback. This tool is easy to use. You can start quickly and see results. Try Peardeck today and make learning enjoyable.
It’s a great way to improve student participation. Your lessons will never be the same. Embrace the change and see the difference. Explore Peardeck and enhance your teaching methods. Happy teaching!